A Metal Renderer in Swift Playgrounds (Part 10)
Since this is a toy project, I’ve spent maybe 80% of my time on building things, and 20% on architecting and refactoring. This isn’t sustainable after a certain point because it leads to spaghetti, so recently I’ve allocated time to rationalising the codebase. This has led to generalising some features now that clear patterns have emerged.
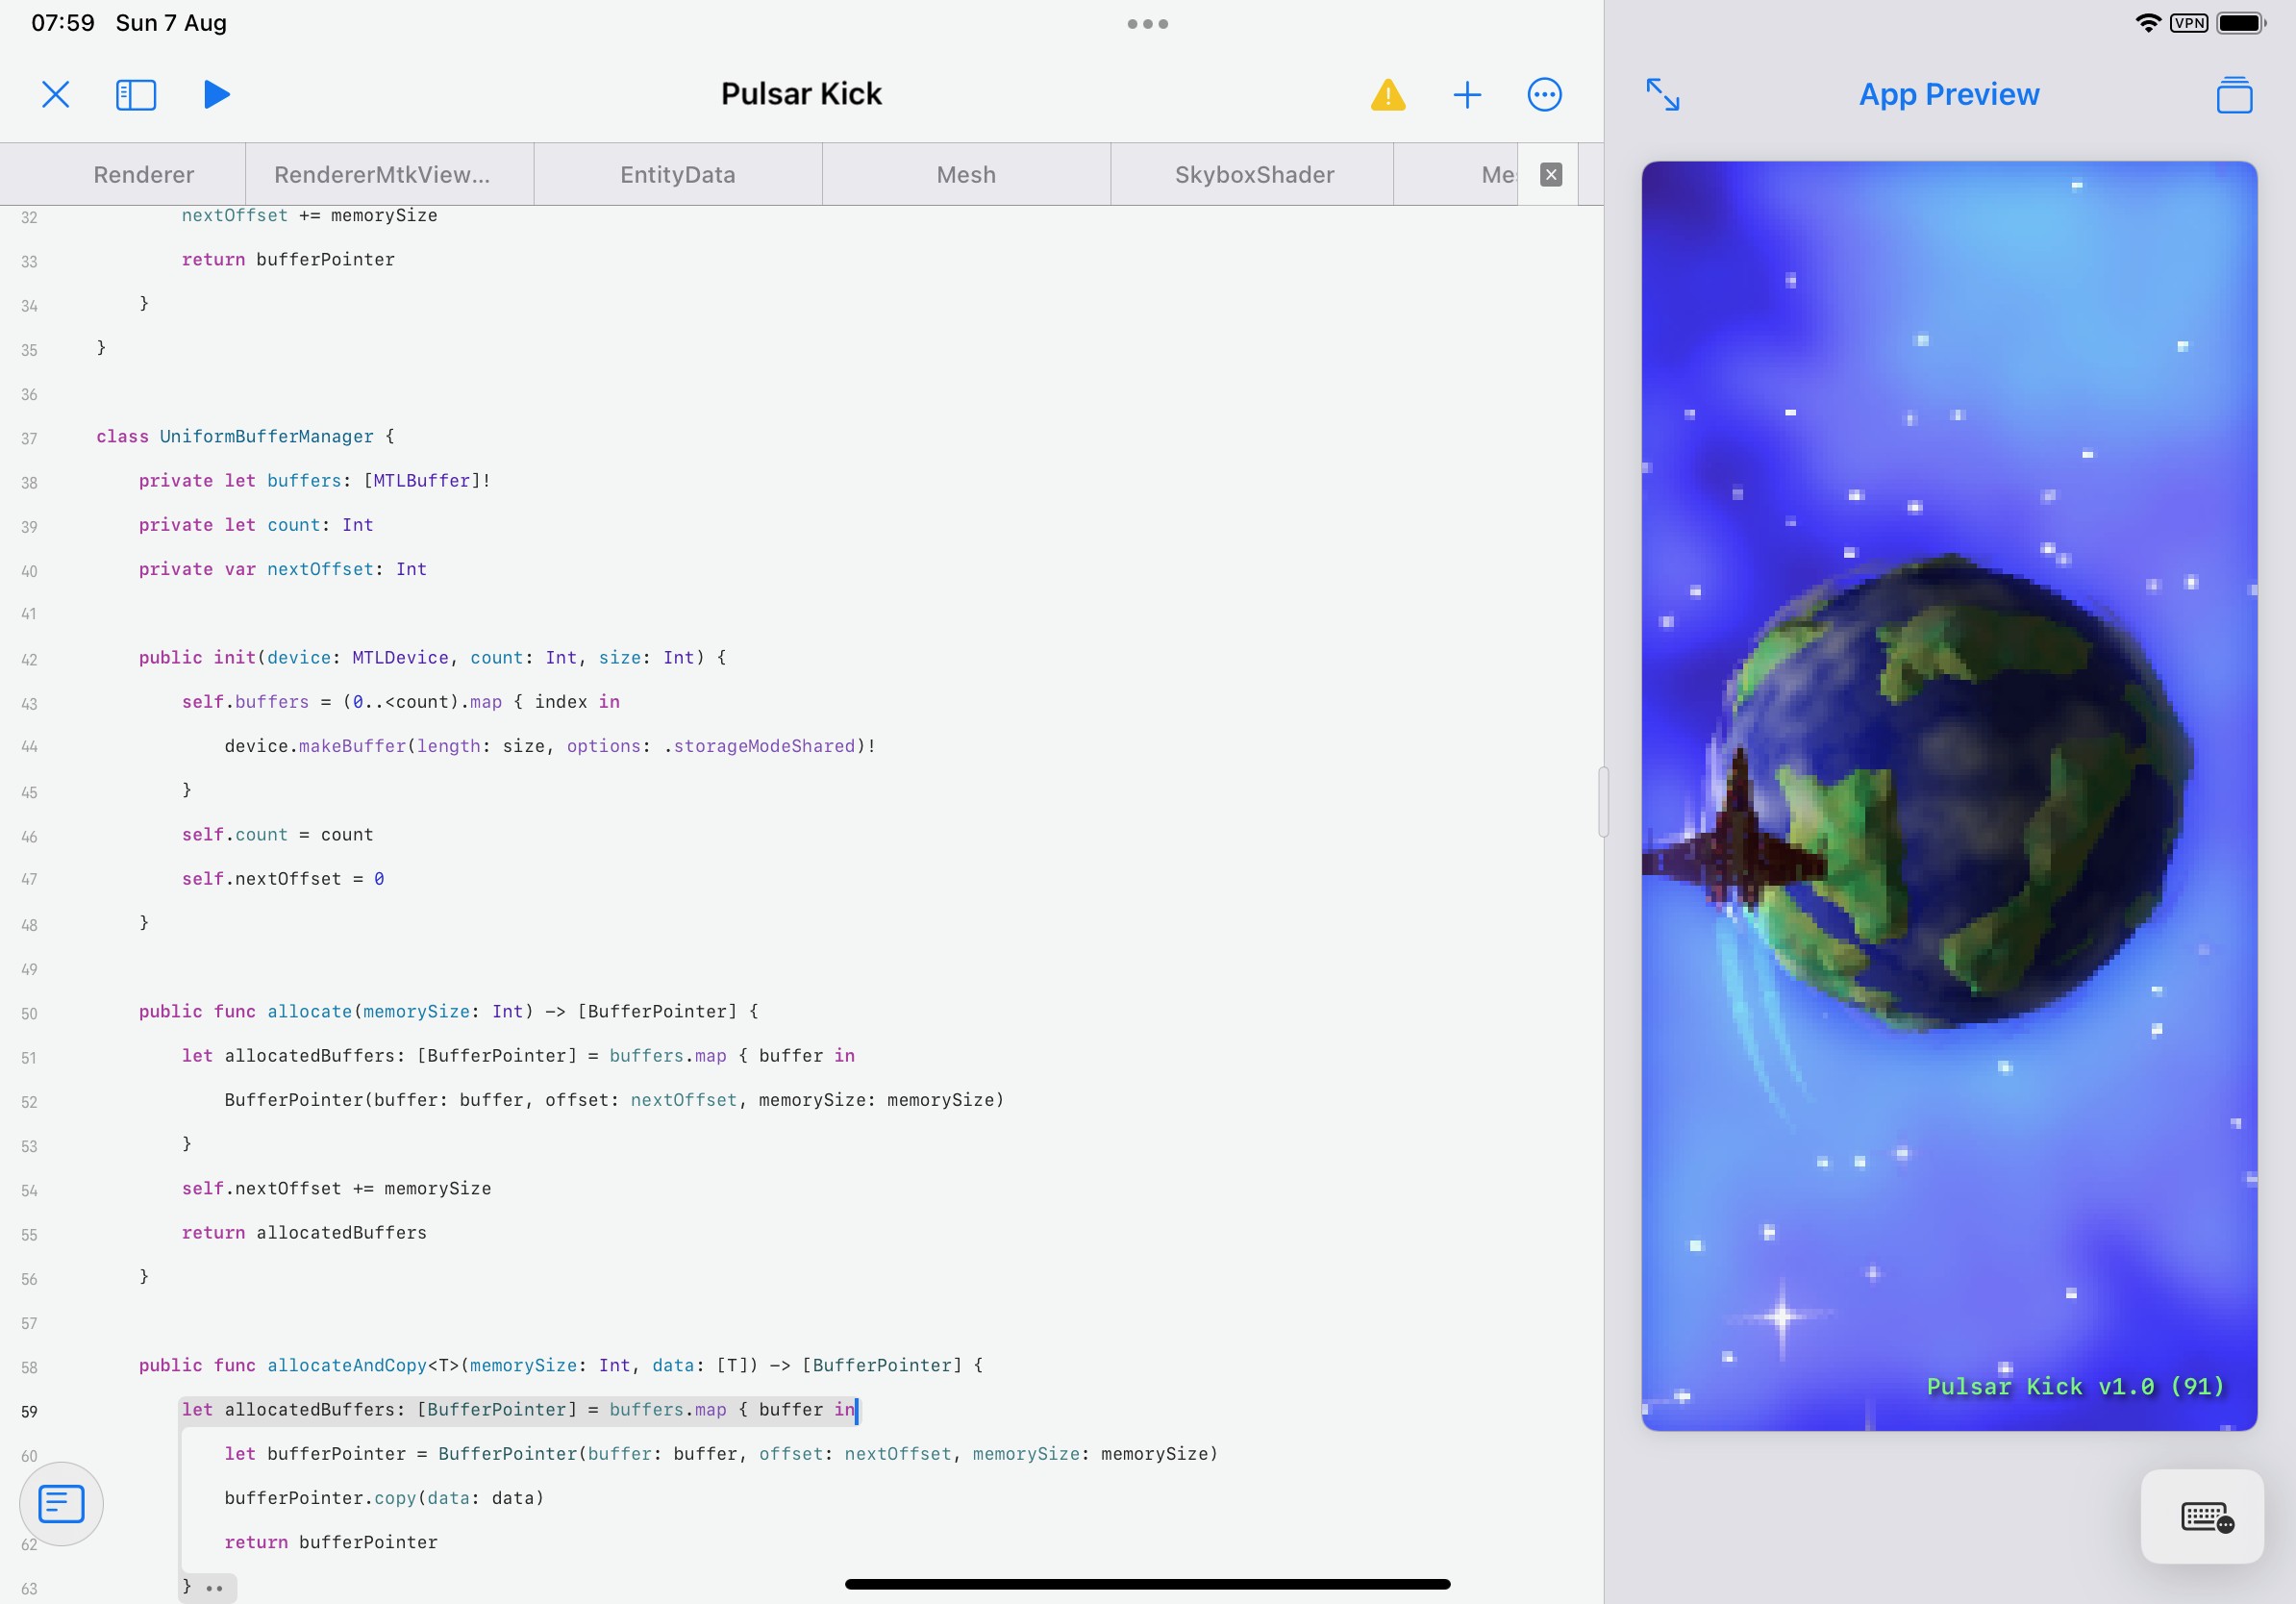
However, the process is tough in Playgrounds because it has no refactoring tools. It has no “go to symbol” or even “go to file”. The search functionality applies globally which is a pain when you’re specifically after usages in the current file. Combined with the slow rebuild times, refactoring in Playgrounds can be frustrating! That said, it’s not even been a a year yet since Apple tried to make a proper developer experience on the iPad so I expect it will improve with time.
Pre-rendered skybox
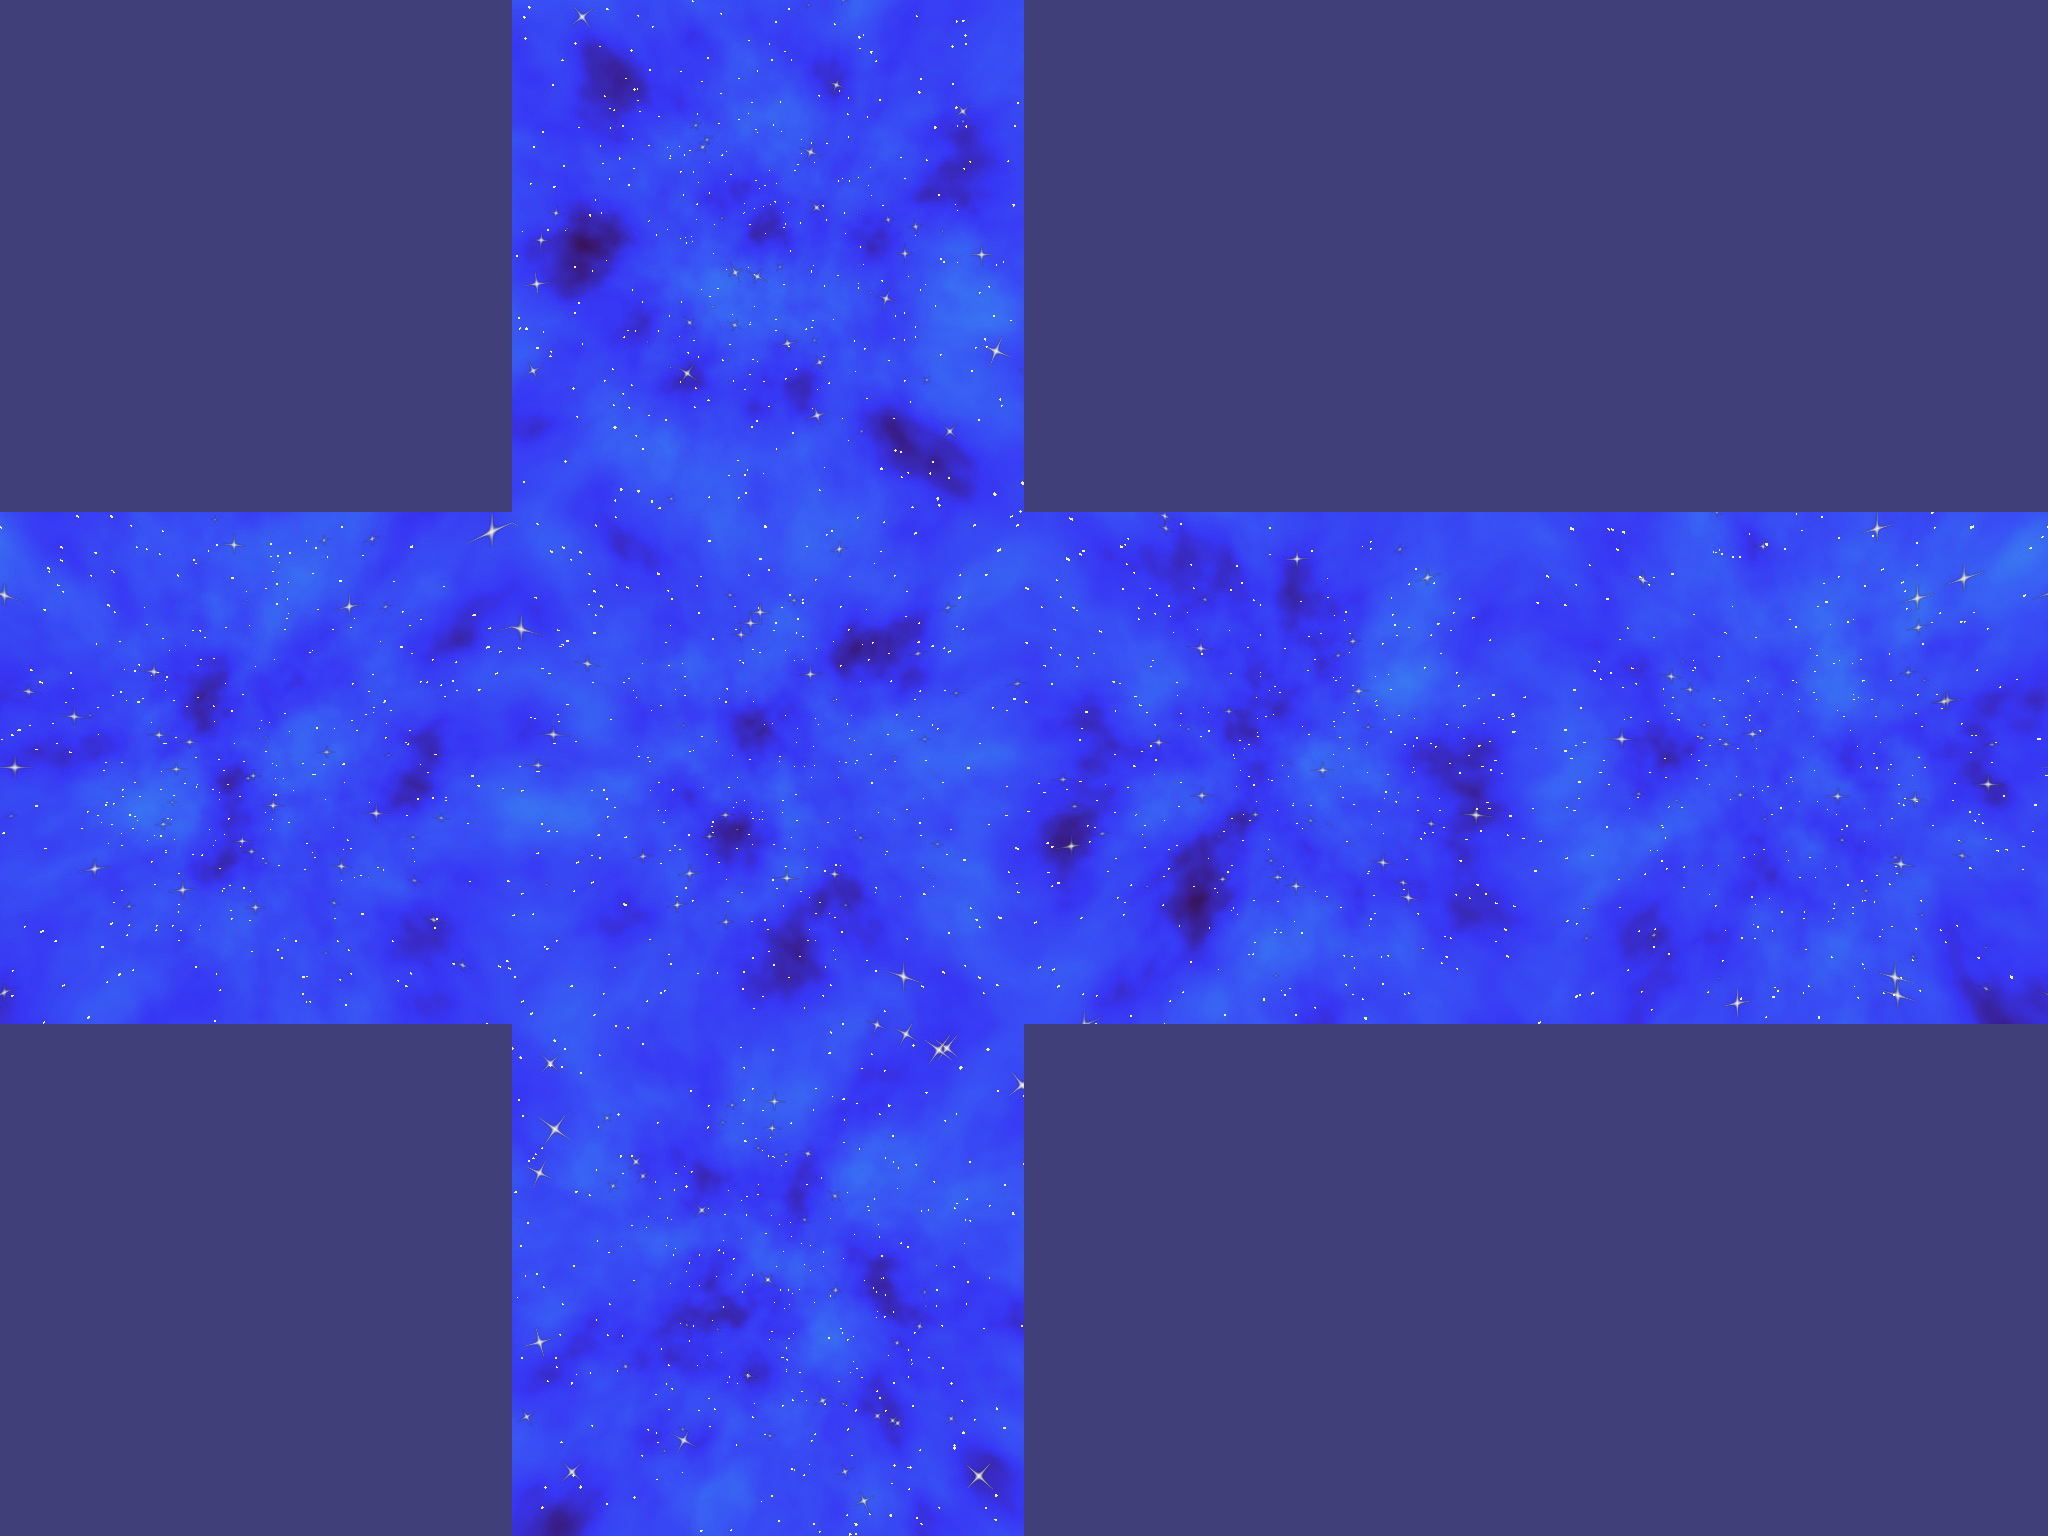
One new feature I worked on has been to pre-render the skybox rather than redraw it every frame. The rationale for this was to see if it was possible rather than because of a concrete performance concern. To recap, the “skybox” is an icosahedron with faces directed inwards, shaded using several octaves of Perlin noise to give a nebula effect. Drawn in front of this are a large number of small stars, and a smaller number of large stars.
At the start of the first frame, I draw the background elements six times, with the camera pointing in each of the cardinal directions for each iteration, using a new texture as the render target. This texture is then blitted to the corresponding slice in a cube texture. For the rendered skybox I use a simple cube mesh and use the cube texture as its texture. Bloom is a post processing effect that applies to the whole rendered scene, and so is intentionally not baked into the rendered skybox texture.
Abandoning voxels
I wrote previously about trying to reconcile a voxel model with the low poly universe I wanted to build. The voxel model was a constraint resulting from wanting to build all the resources for the game on my iPad. I came up with the workaround of adding a pixelated filter to try to hide the clash between voxels and triangles. There were a few problems with this approach:
- The voxels were still visible at certain distances and angles.
- The facets of the voxel mesh meant lots of very small triangles. I think this caused rasterisation issues as the background was visible through parts of the model when viewed from distance.
- Low poly modelling offers more flexibility than voxel modelling for my skill level and the kind of model I want to make.
- I disabled the pixelated filter and liked the look of the world without it.
What to do? Well I decided to compromise on my aim to make all game resources on the iPad, and use Blender to make the models. I will try to make this the only such compromise since most of the other things that I anticipate needing are possible on the iPad.
With this decision made, I set about creating a low poly version of the Vox Siderum spaceship model. I am not an experienced modeller, but have played with Blender over the years. Towards the end of last year I put together several low poly experiments, including a first attempt at animation. I haven’t touched Blender since January though, so in addition to my low level of experience, I was also quite rusty! I imported the voxel version to use for reference. To achieve this I made both the voxel model and the evolving box that was the low poly version transparent, so that I could see them both. It was a bit confusing visually, but I was able to use the approach to make the two versions look fairly similar.

For texturing, my first approach was to manually UV unwrap in Blender, and the outcome was not terrible. It was time consuming, however. I exported the model in the OBJ format including UVs, and imported this into Procreate to make use of its model painting functionality. This sounds like it should be fantastic, but it’s not. Maybe it’s the texture resolution I’m using, or maybe it’s my UV unwrapping at strange angles, or maybe I’m just not very good. Whatever the reason, I can’t get on with model painting in Procreate very well. I ended up going back into Blender and creating distinct islands for each area of the ship that I wanted to be a different colour. This allowed more control of each area of the ship.
At this point, it was definitely my UV unwrapping that was letting me down, because straight lines were wonky across triangle boundaries. I slept on it and recalled the technique Imphenzia uses in his Learn Low Poly Modelling video, where the UVs for each face are reduced to a point and then positioned on a texture which is simply a grid of colours, or a grid of gradients. This technique requires that every detail you want represented in the model has equivalent triangles. Since the model is low poly, and the colour detail is not likely to be complex, I thought this would be a good trade off. Importantly, it is a much less frustrating experience for me than UV wrangling.
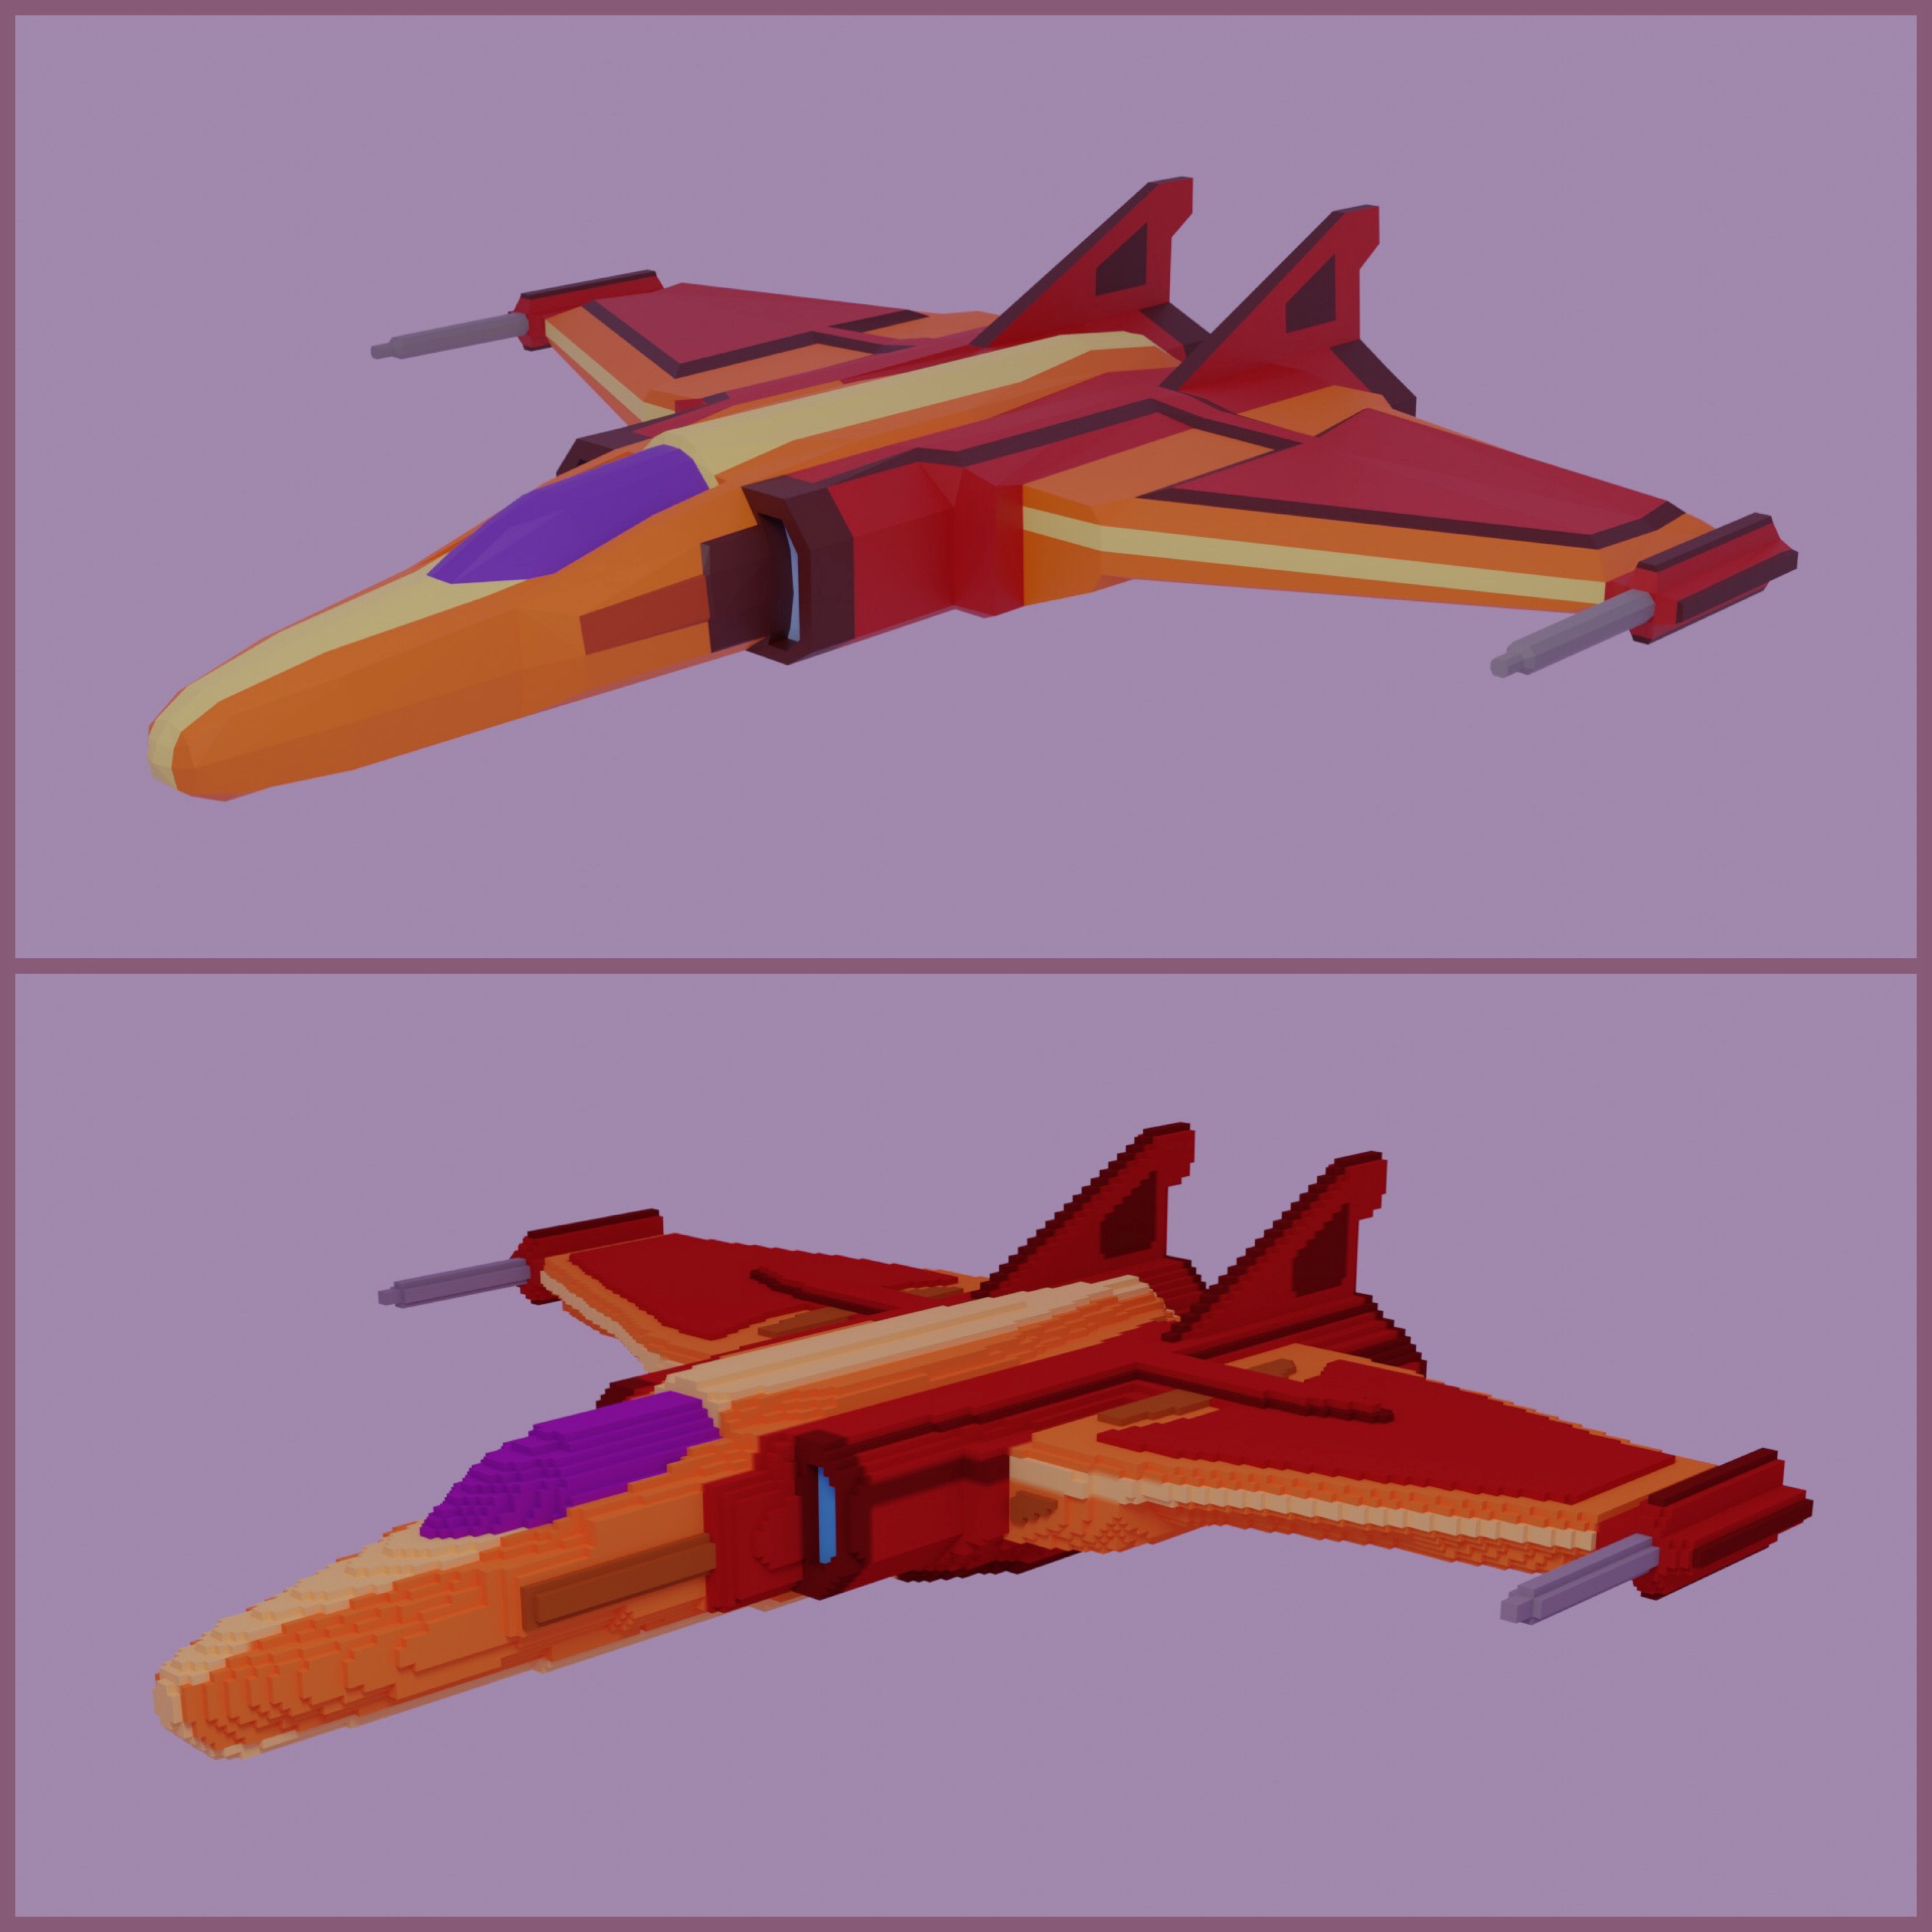
One possible weakness of the technique is that it works fine for specular textures, but I don’t think it can support normal or emissive textures. Thinking about it, it would be possible to get emissive textures working by associating an area or areas of the colour grid texture with a light area of the emissive texture.
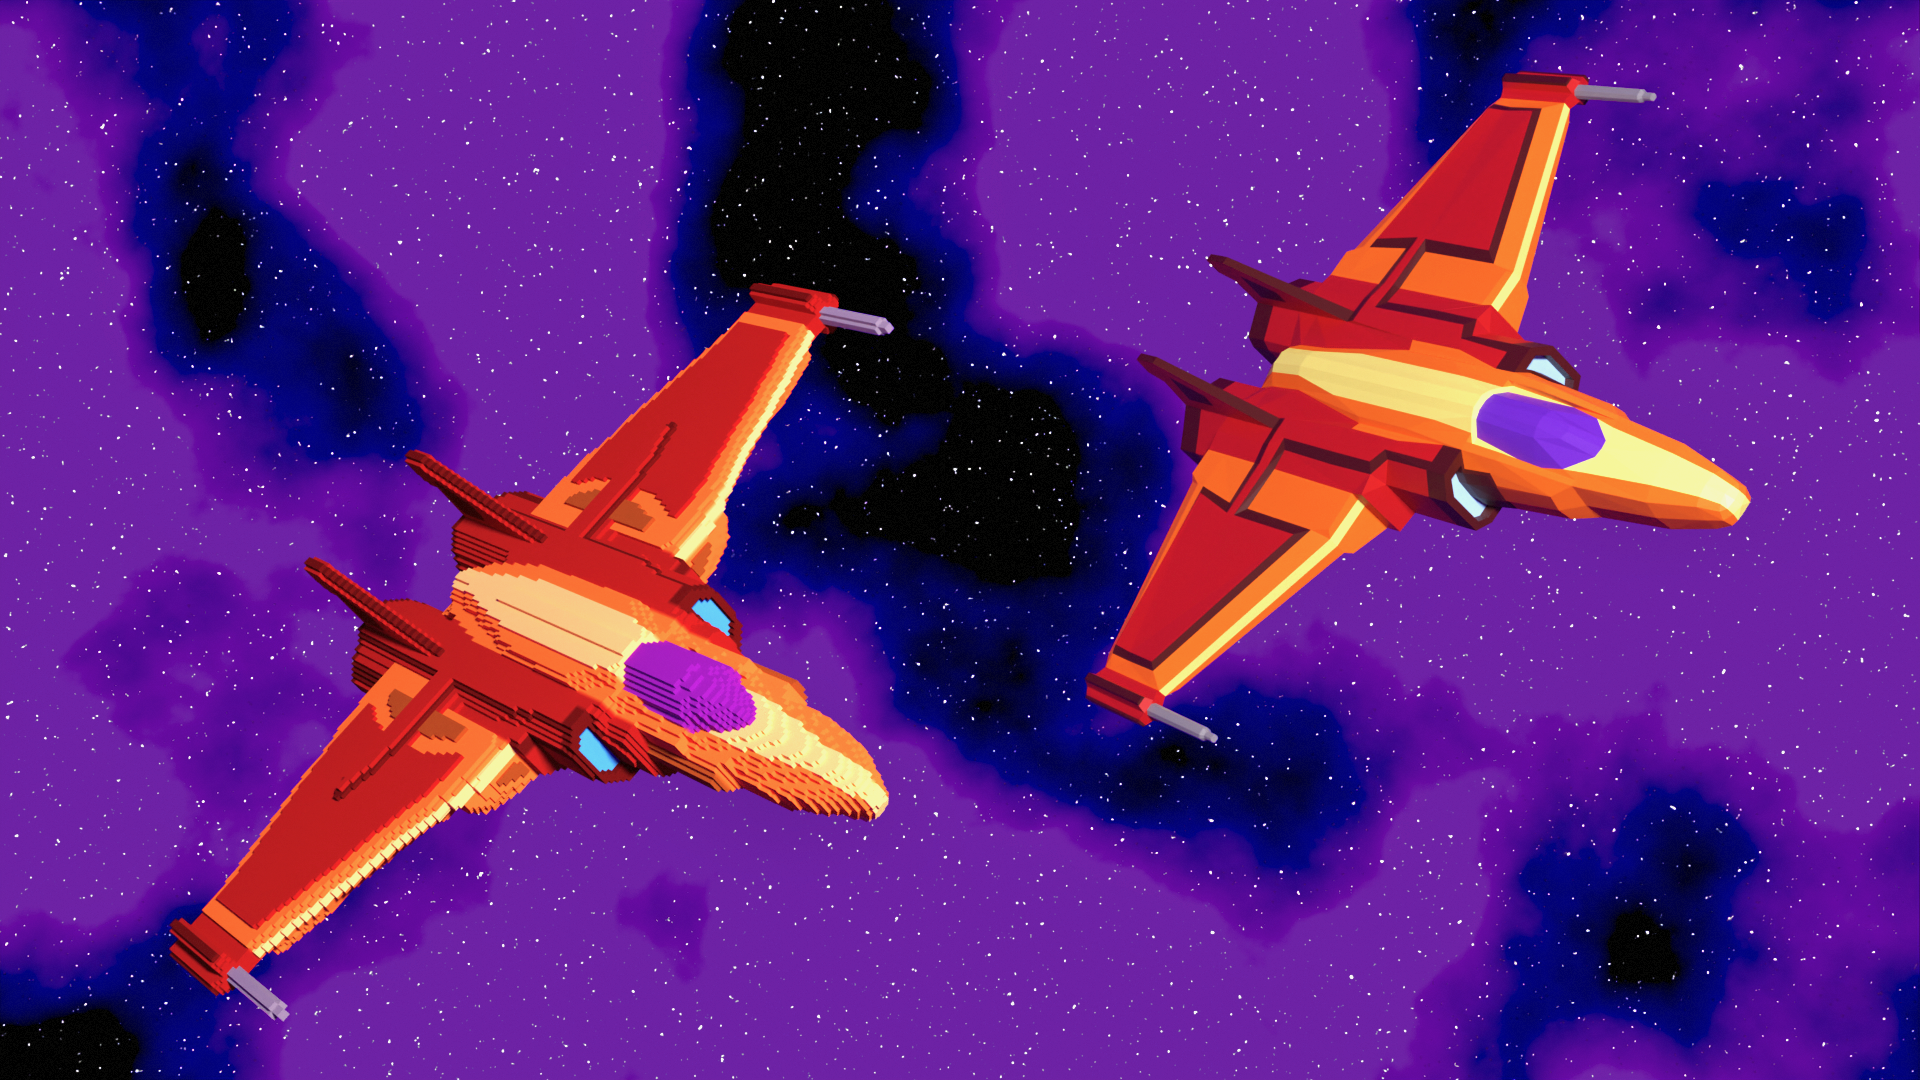
I then had some fun with it. I put the voxel and low poly versions side by side as if they were flying in formation, but it looked a bit bland so I added a Blender world shader that I’d used previously: using noise to generate a space background as I do in the renderer.
After this, for something a bit different, I created a turntable animation for the voxel and low poly versions which I wanted to switch between. Even though the animation was very short, it was taking a long time to render the frames on my Mac Mini’s CPU. I remembered something that I’d set up a year ago to speed up rendering my Blender experiments: remote rendering on my PC which has an nvidia rtx 3060 graphics card. I had configured sshd to run in WSL on the PC, which allows the execution of Blender CLI commands, making it possible to render over ssh. It takes significantly less time when using GPU acceleration, and being able to run it from the comfort of the Mac is great. Finally, I used BlackMagic DaVinci Resolve to overlay the rendered videos and animate mask transitions to hide and reveal the top one.