Ray Tracing in One Weekend with Rust
Recently I was reading through the current edition of Effective Modern C++ which covers up to C++14, and I found myself getting bogged down by the huge number of language features and in particular the caveats around those features. It wasn’t fun learning how to write good C++ any more. I’ve been following the development of Rust, and the language features seem interesting and it seems to have embraced the functional aspects of language features more closely along the lines of what I’m used to with Scala. Similarly, while I understood in advance that I’d be fighting the borrow checker and this would be frustrating, the advantage of memory safety was an interesting prospect so I decided to switch my low level hobby language from C++ to Rust.
All of the exposure I’ve had to graphics programming has been through simple OpenGL and rendering 3d scenes using triangles, so I was excited to start working through Peter Shirley’s excellent book ‘Ray Tracing in One Weekend’. The book discusses the mathematics behind different types surfaces affect light and the mathematics of cameras and walks through building a simple ray tracer with C++ example code. I had already written some simple OpenGL experiments in Rust using the SDL2 and glium crates, and I wanted to challenge my understanding by building the Ray Tracing in One Weekend project in Rust too.
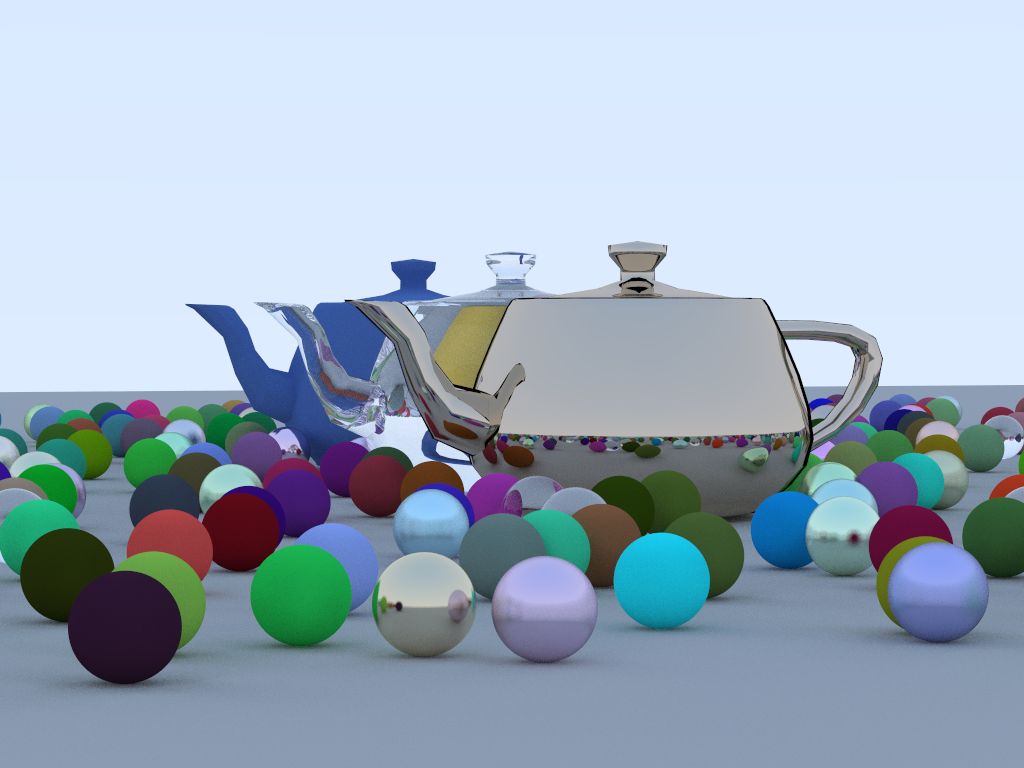
So I did. The last task in the book is to produce an image similar to that found on its cover. My ray tracer’s result looked like this:

But it took 6.5 hours to render…
The book doesn’t really say how fast the render should take, but I thought that was a bit steep. So I put on my optimisation hat and since my ray tracer was entirely CPU bound, I decided to explore concurrency in Rust and parallelise the bits that I could. The approach I took was to split the image into n sub-areas of the final image where n is the number of available cores. In my first naive attempt, I used a mutex to lock the main image and have each thread update the pixel it had just calculated. This was very slow because the threads spent a lot of time trying to acquire the lock. With the next iteration I had each thread own and update its own smaller image, only trying to acquire the lock when it had finished all its work and copy the results into the main image. This worked as intended but only improved the speed by n/2. However, I didn’t pursue this any further yet because I stumbled on the actual biggest performance issue: I wasn’t running Cargo with –release. Setting this flag improved performance by approximately 24 times, so the same render that took 6.5 hours at the start, took 8 minutes on my 4 core 2015 Macbook Pro.
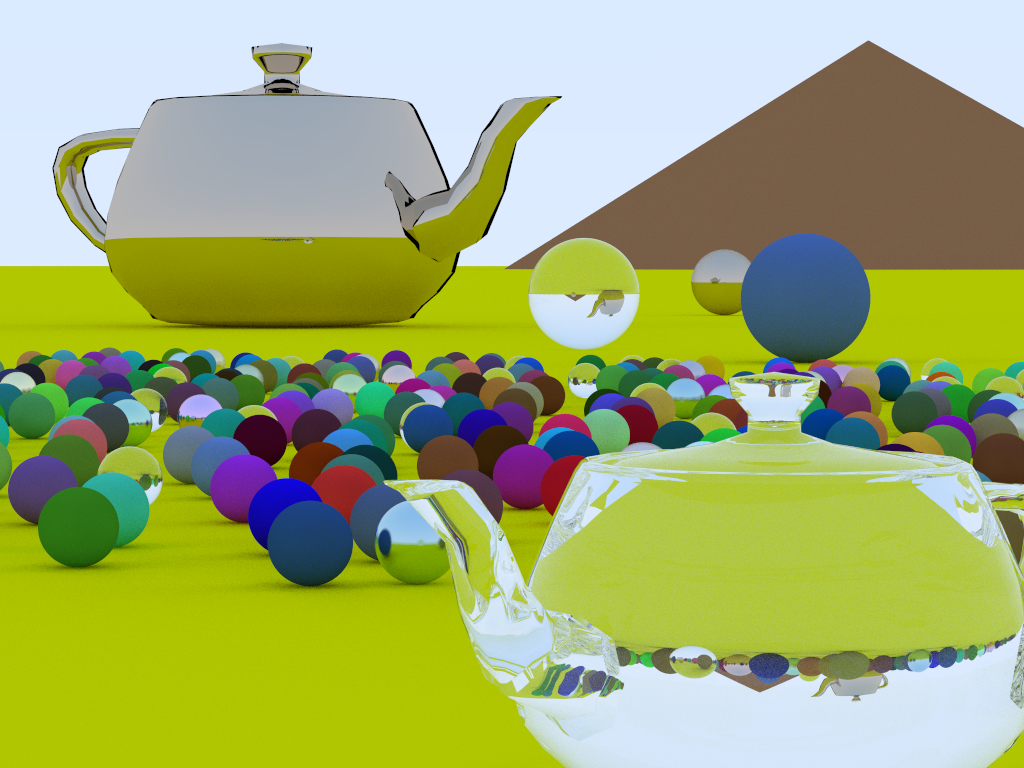
I made a few more improvements, adding in a command line interface so that parameterising renders was much simpler. I added planes, triangles and then triangular based meshes. Finally I added normal interpolation to triangular based meshes for smooth shading. That let me render the Utah Teapot with smooth shading and that looks especially cool with the metal and dielectric materials.
Working through ‘Ray Tracing in One Weekend’ was both fun and challenging. I learned plenty about ray tracing, and though I have committed all the maths to memory, my understanding of it has broadened. I also feel like I have a better grasp of Rust’s memory management and was able to gain some experience with low level concurrency in the language. My next step is to work through the next book in the series ‘Ray Tracing the Next Weekend’ which introduces among other things, Bounding Volume Hierarchies. My previous game development hasn’t been deep enough to approach dividing up the complexity of a world or scene, so I’m looking forward to it as an introduction to this area.
The source code for my implementation is here on GitHub.