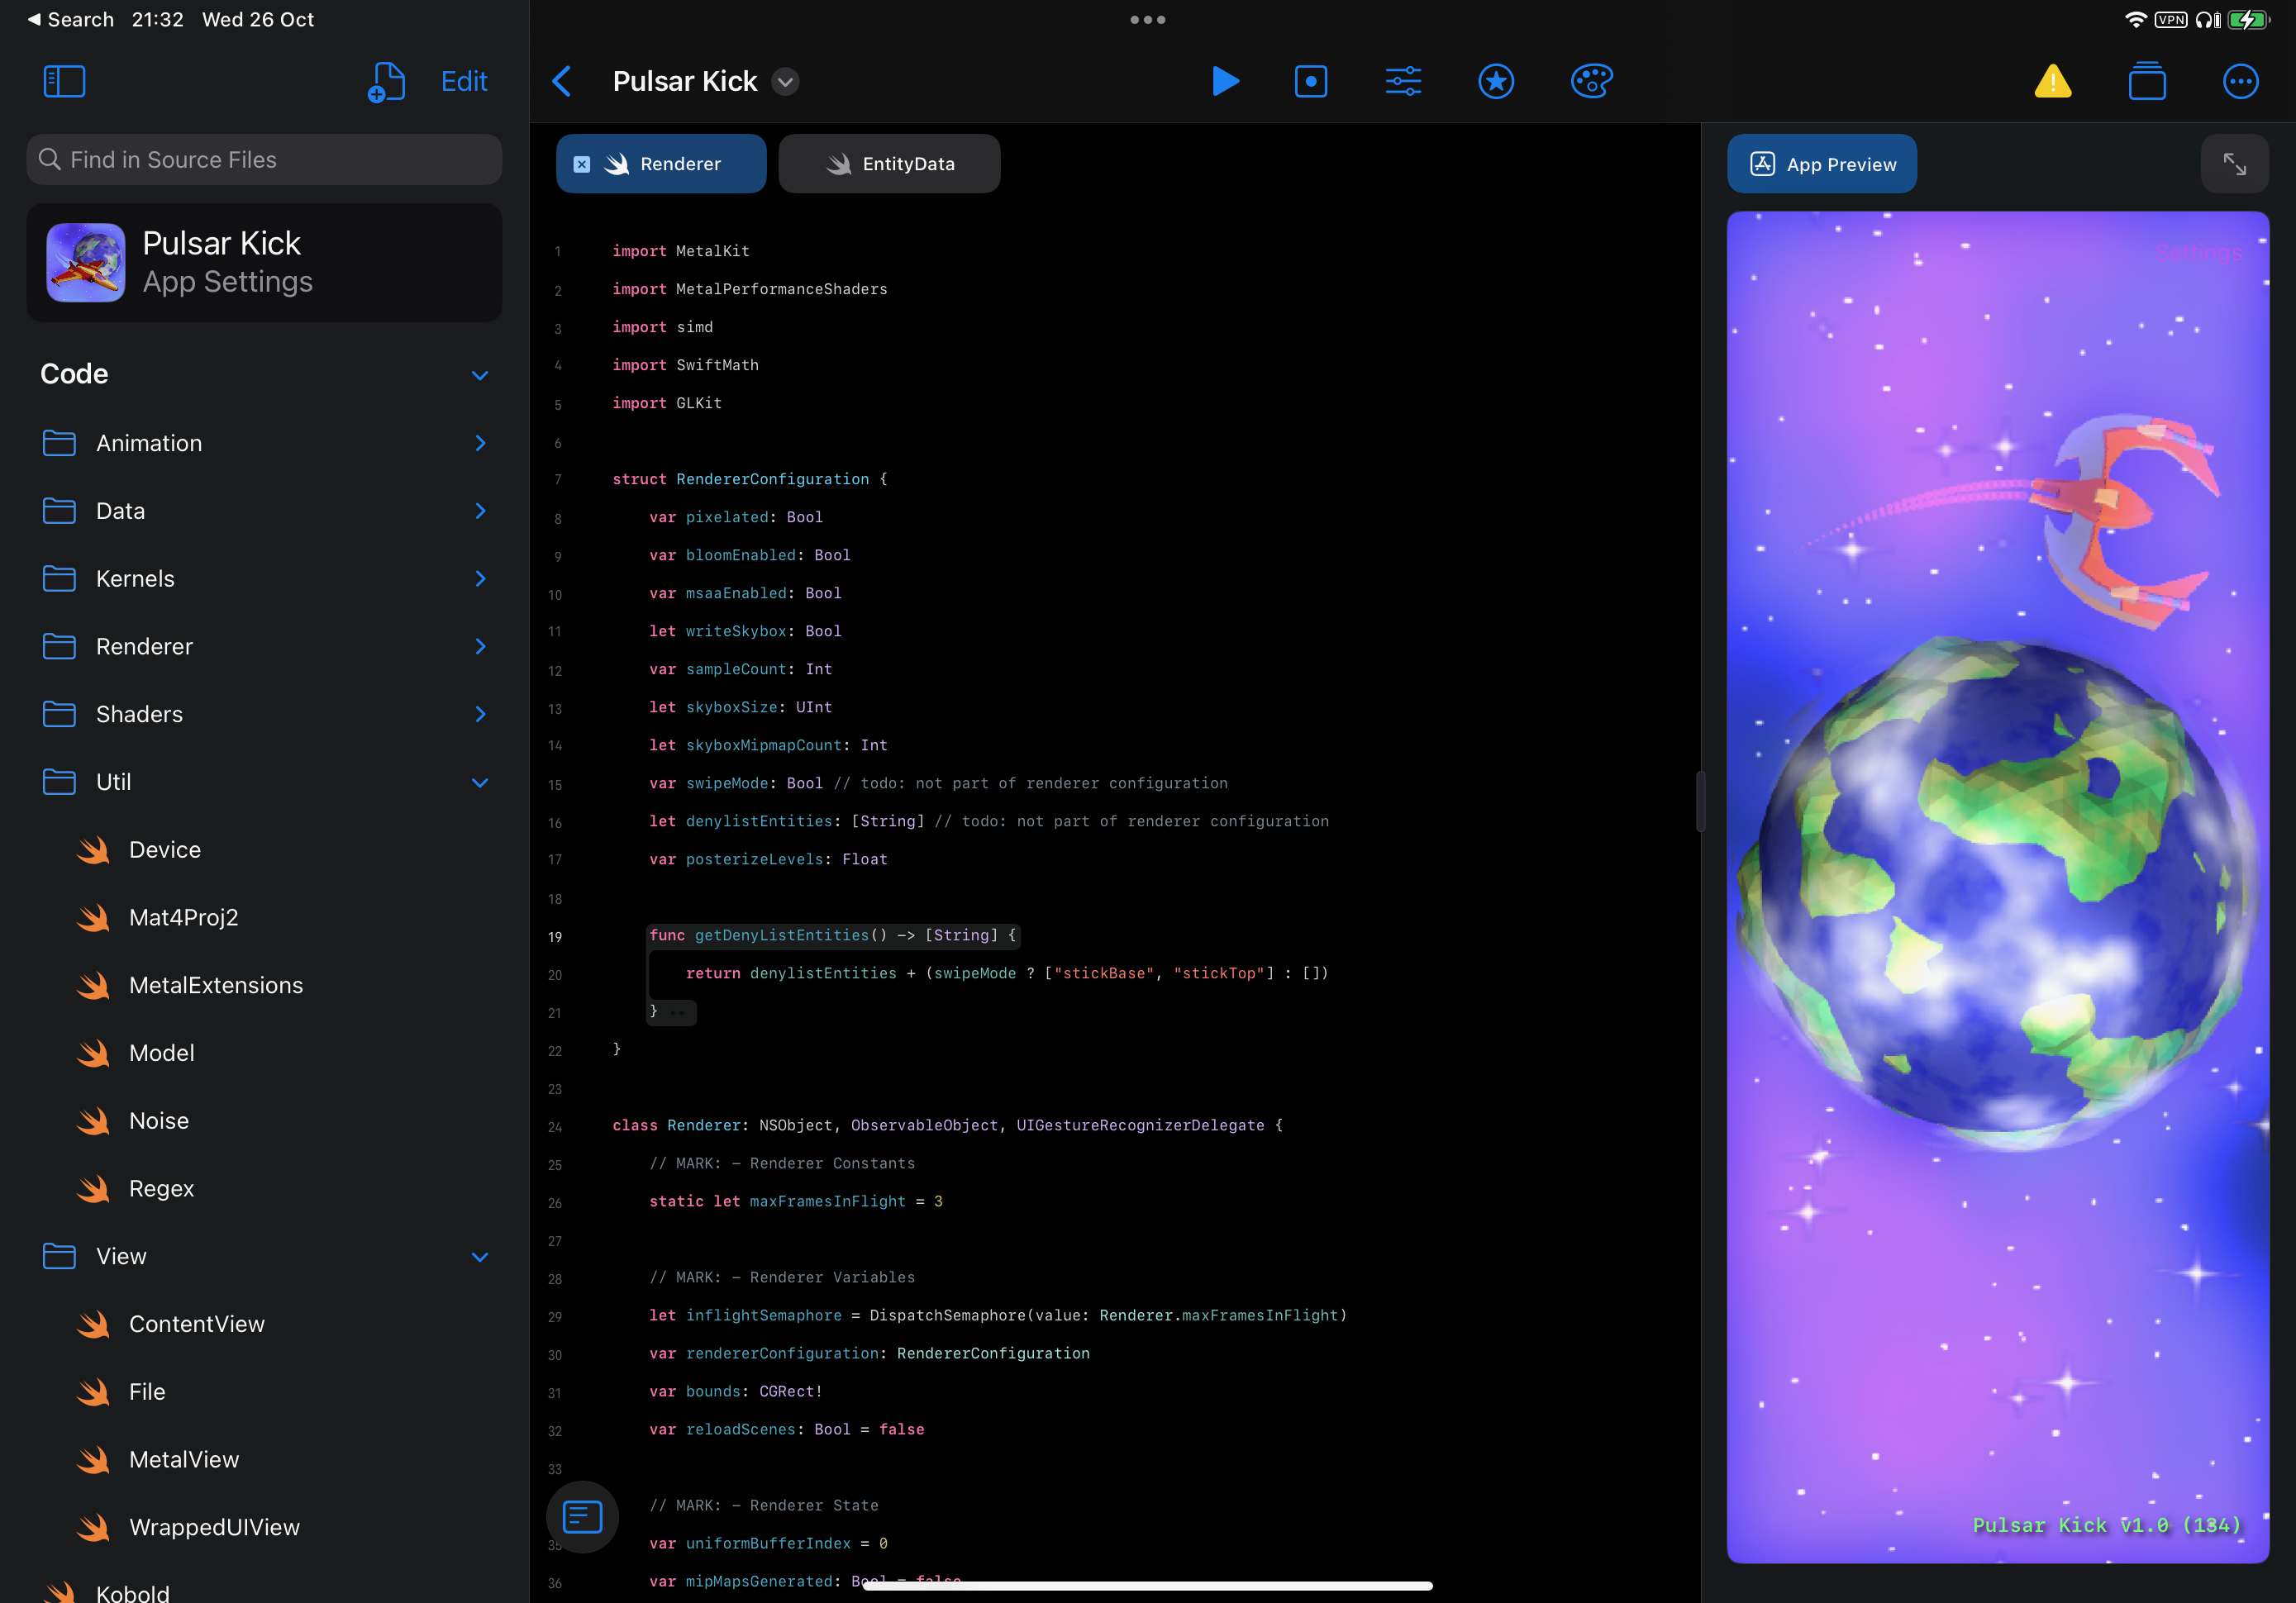
Concluding A Metal Renderer in Swift Playgrounds
In May last year I started on a journey to learn how to make a 3d renderer on my iPad in Swift Playgrounds. I’ve learned about Swift, Metal, basic renderer architecture, and graphics techniques such as shadow mapping, bloom lighting, and using noise for procedural content generation in geometry and shaders. I’ve experimented with animation, audio synthesis, and handling input on a touchscreen device by emulating analog sticks and buttons, as well as creating 3d models for rendering and deployed the resulting app for testing on my iPhone and iPad.
The renderer has a good set of capabilities and I’m going to call it finished and move on to building a game using what I’ve learned from this project.
Learnings
Developing on iOS
- It’s possible to build an iOS app on an iPad that renders to a full screen Metal view and handles input and publish it to the App Store. I only went as far as using test flight to distribute the app to my own devices, but the App Store is just a click away.
- Although it’s possible to do this, the interface makes it very hard to do so: Swift Playgrounds as an IDE is very limited in terms of refactoring and debugging tools. Print debugging is the only option to understand what’s going on under the hood and this doesn’t always work, especially at app start up.
- Playgrounds projects can use external dependencies but the dependency must be publicly available - for example on GitHub.
- Forcing an application to be landscape only required a custom plist to be specified in the app’s Package.swift.
- Playgrounds stores projects in iCloud which is fine, but sometimes the syncing was slow or got into a conflicted states and updates would be lost.
Swift and Metal
- Swift is a beautiful language to work with. I would describe it as pragmatically functional in the same way as Scala or Kotlin - functional paradigms are first class but the best parts of object orientation are there too.
- Metal provides a nice API ansd especially so when dealing with Apple’s unified hardware because the memory is shared between the CPU and GPU, removing the need for copying between the two.
Graphics Techniques
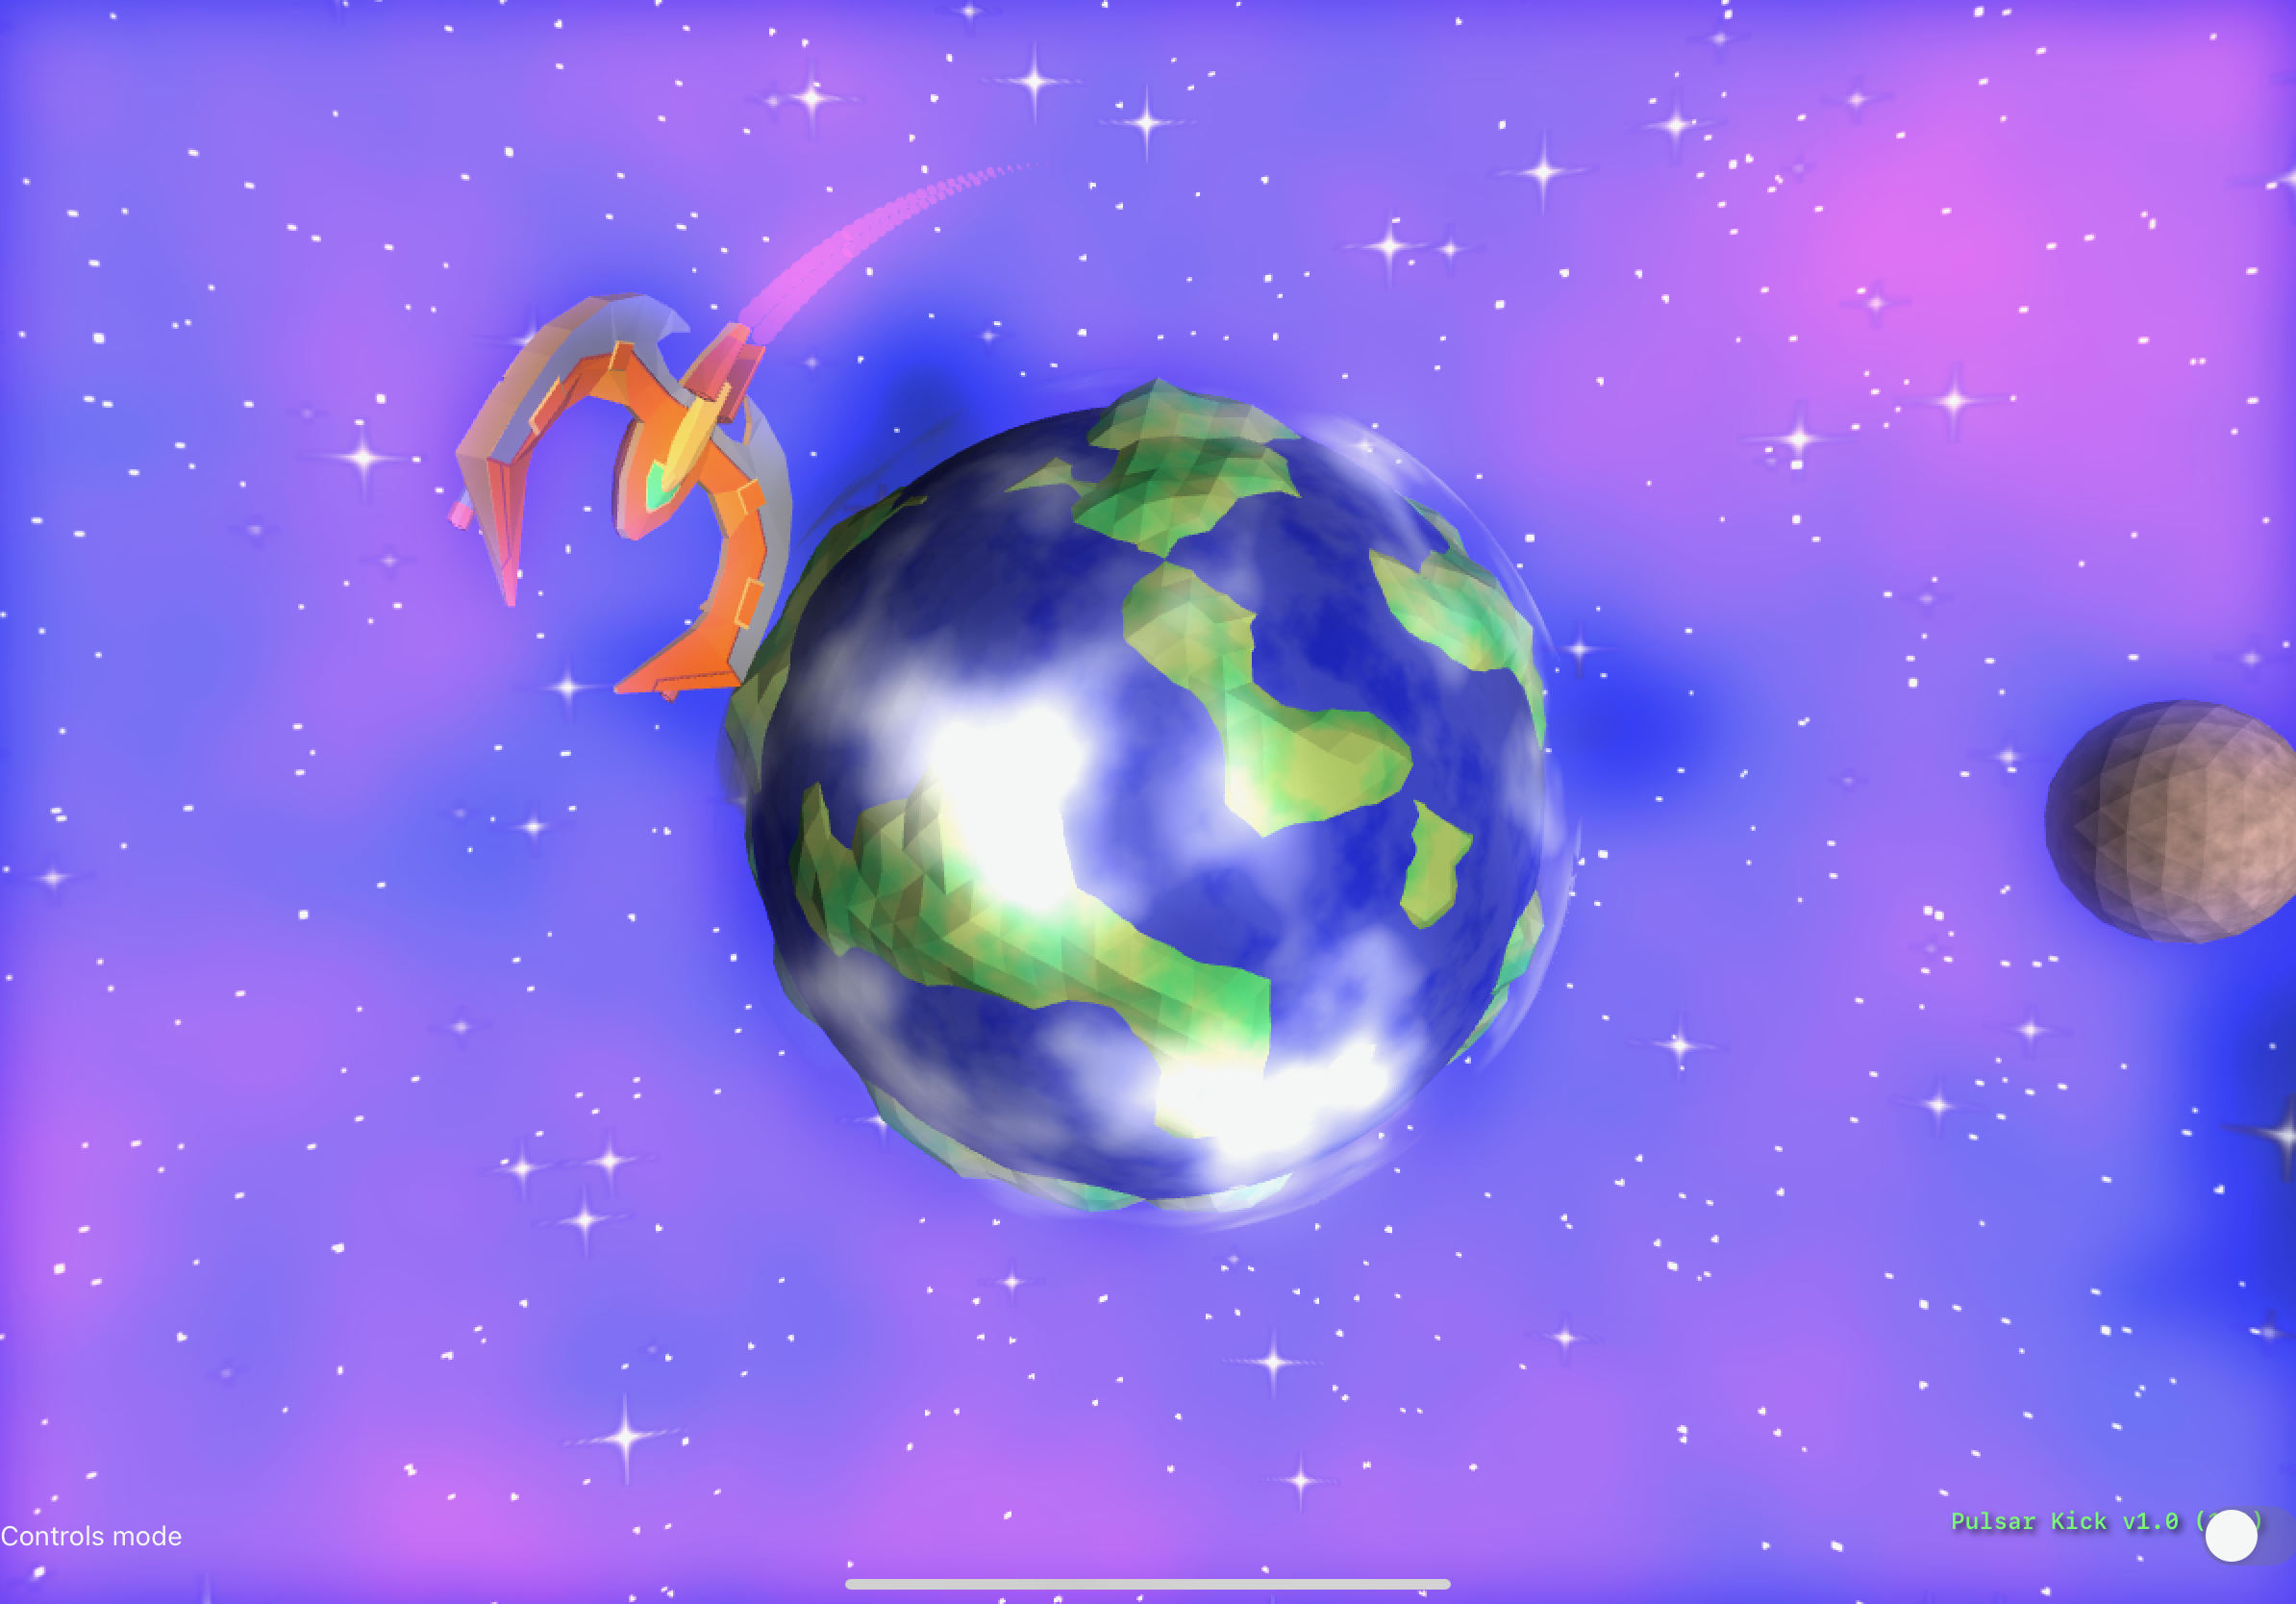
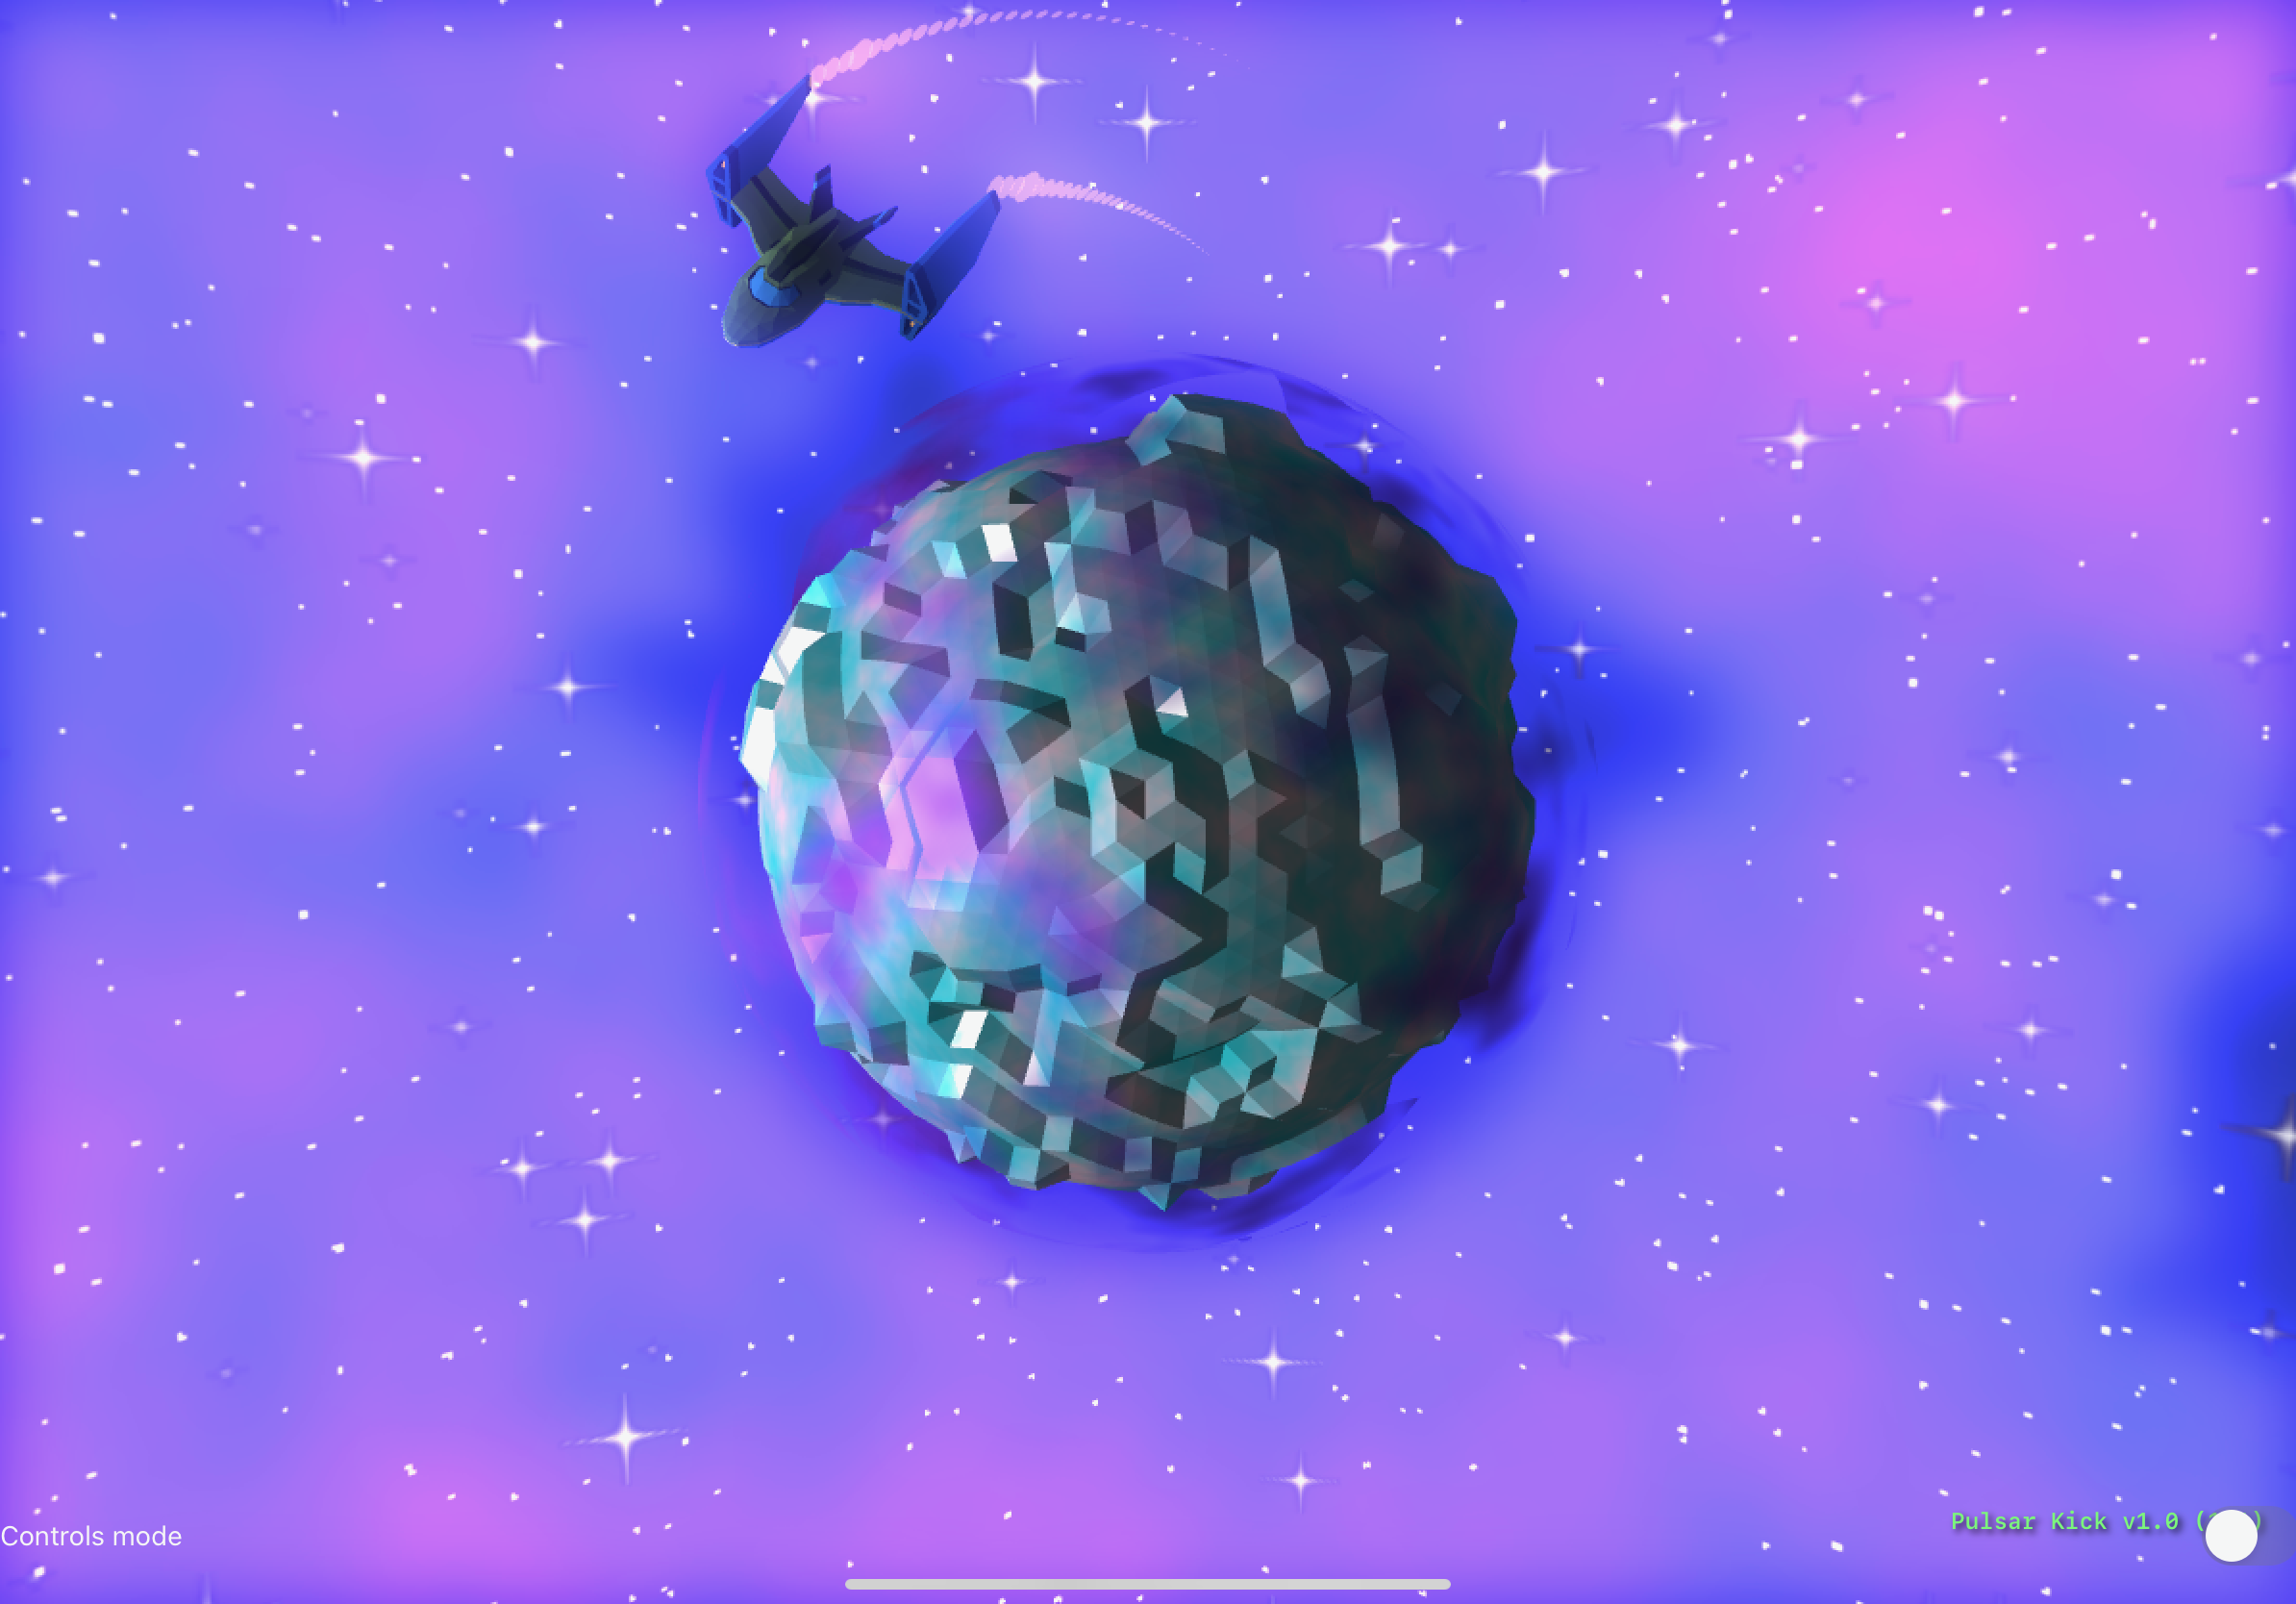
- Layering 3d value or gradient noise using an approach like fractional brownian motion can be used:
- to create height maps for planet surfaces and oceans either continuously or discretely.
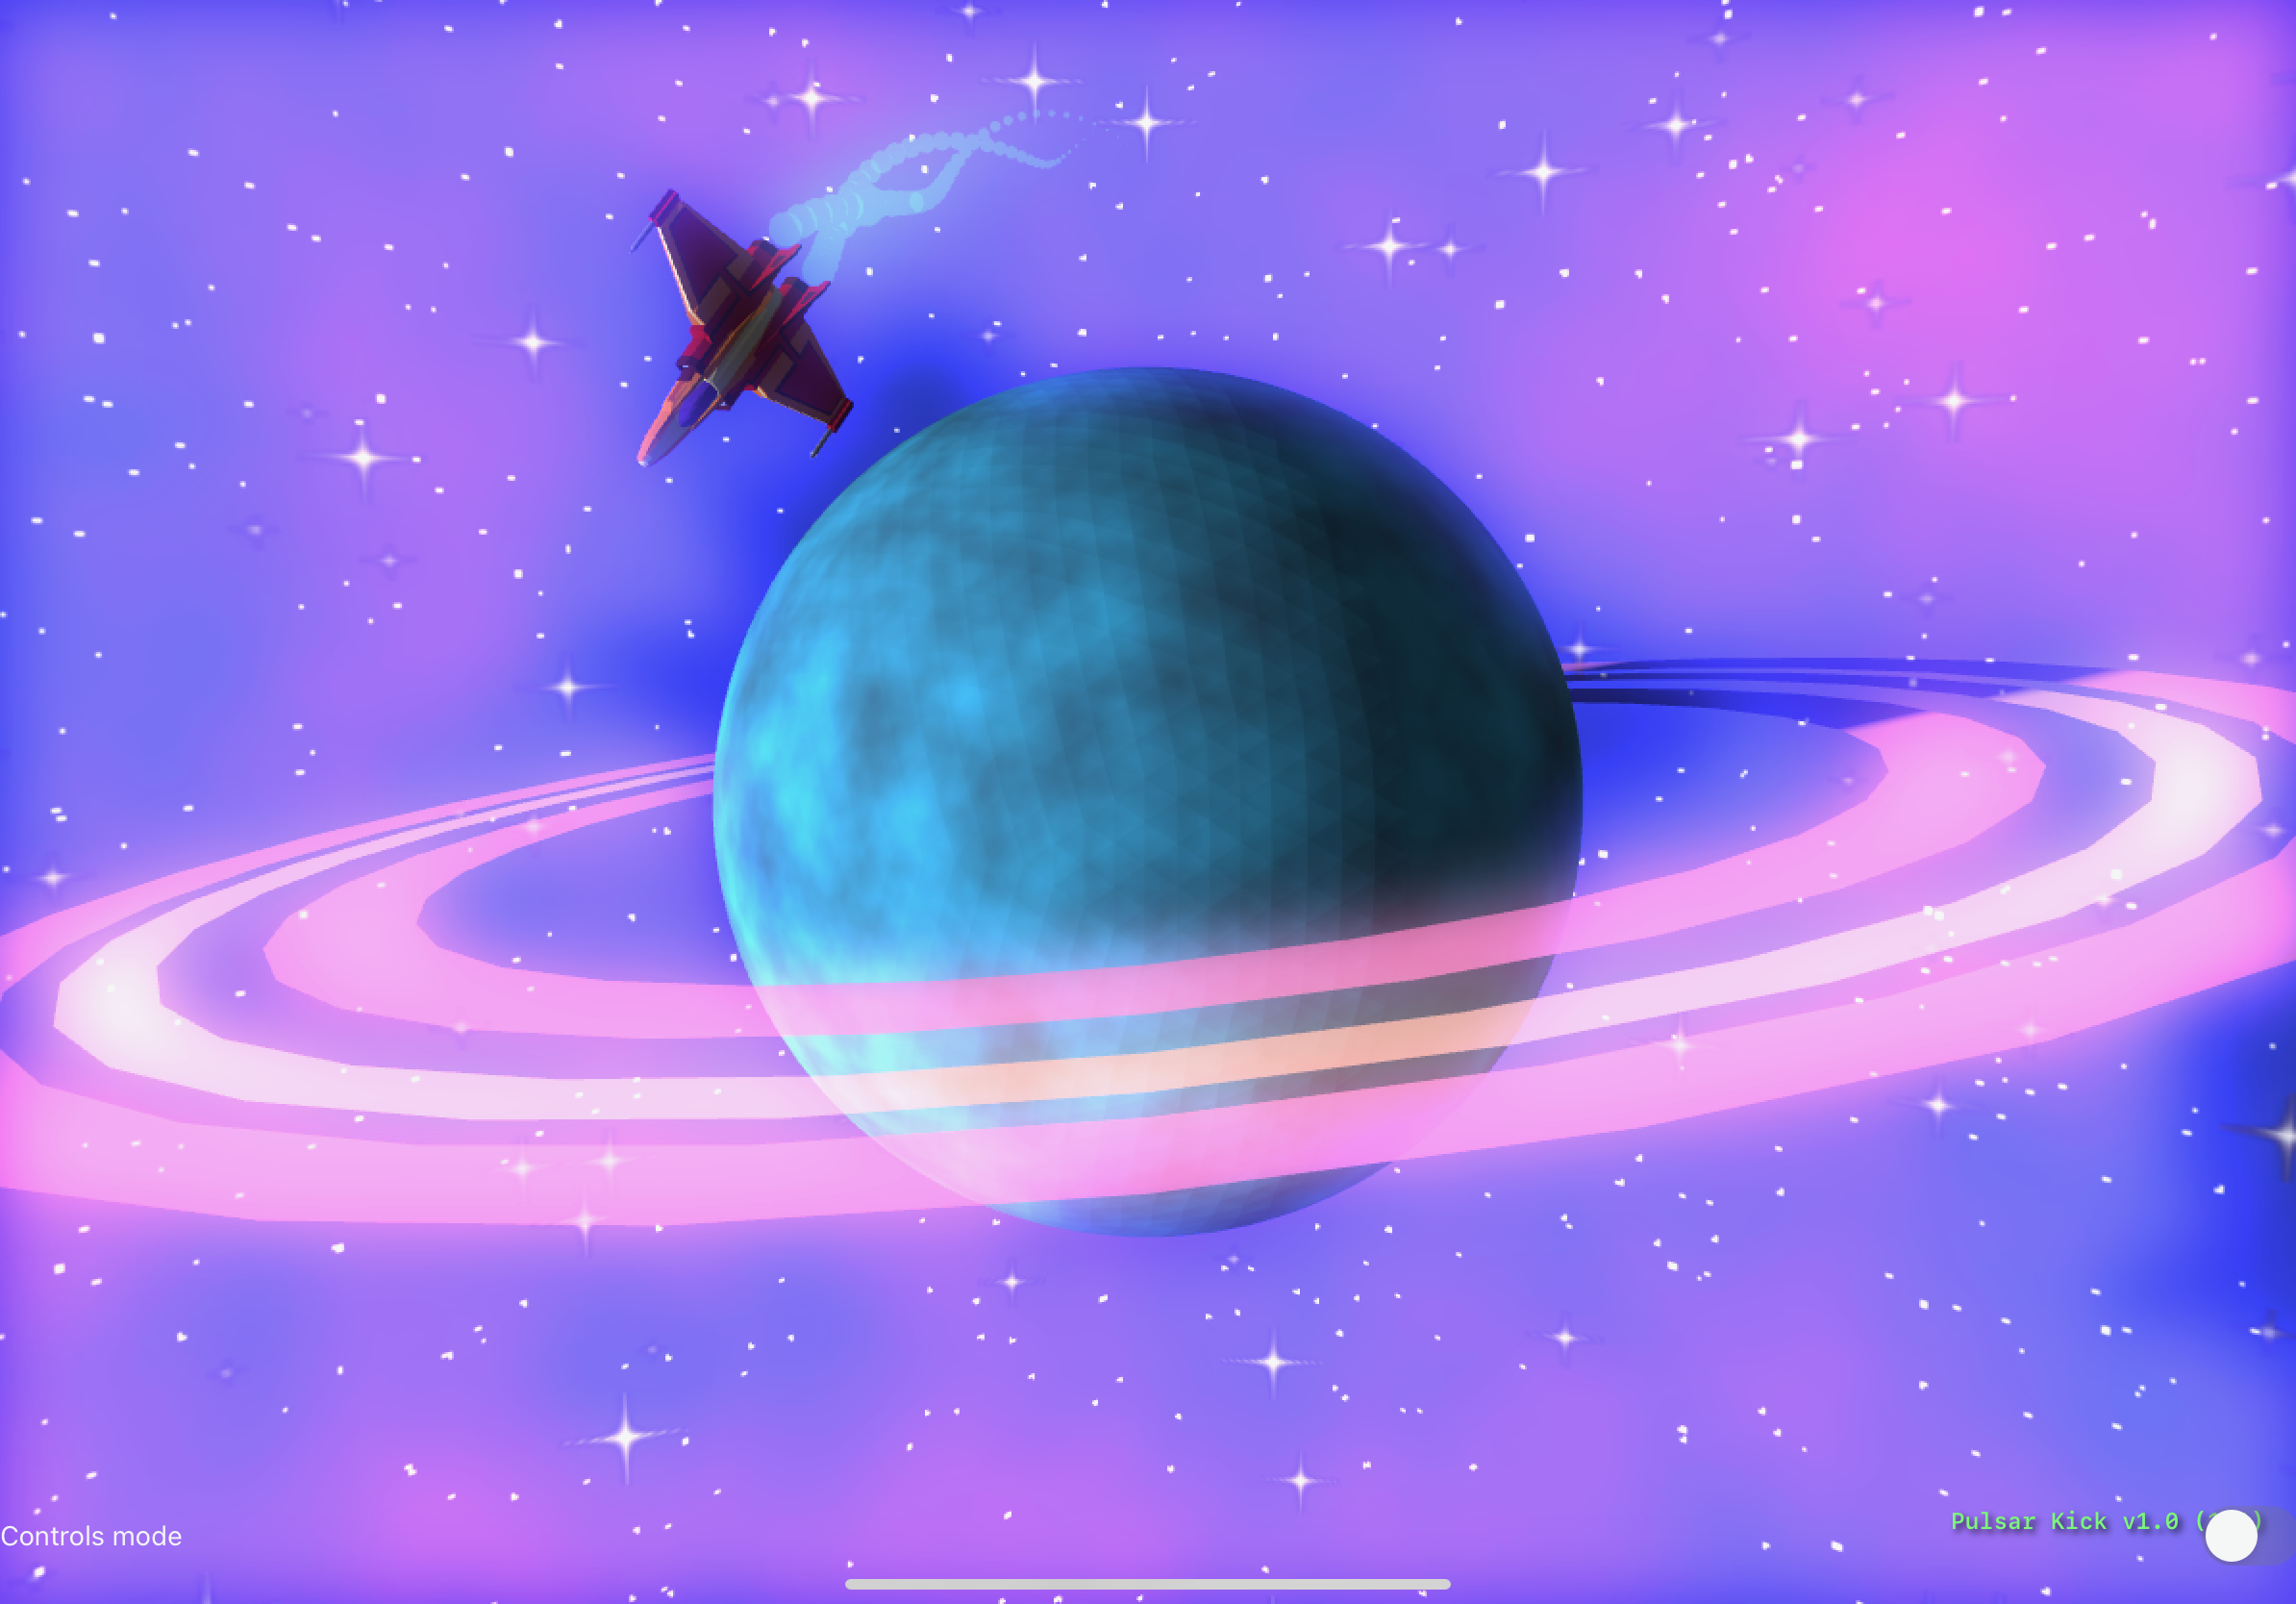
- to shade rough terrain, sea, cloud, and nebula effects by using the interpolated world position of fragments of a sphere mesh as input.
- Shadow maps provide a good way to calculate detailed shadows quickly, however:
- I ran into problems given I have a sun and therefore need to project shadows in all directions. I experimented with a cube texture projecting shadows onto each face. This was fine, but requires 6 shadow textures which is a lot of memory for shadows that will be far away. In the end I used an approximation approach where the only shadows are for orbital bodies like planets.
- I found that at distance the shadow detail was very poor which makes sense as the shadow texture has finite size. I’ve read about cascaded shadow mapping and would like to try this technique out to address this. I was thinking of an approach where shadow maps might be used for things that are close, and use the orbital body shadow approach for large and distant objects.
- Bloom lighting was a surprisingly easy feature to add, writing a brightness value above some threshold to a second colour attachment, applying blur to it, and then adding to the primary colour output texture.
- Adding a pixelated look is another surprisingly easy effect to add, involving rendering to a small output texture and then drawing that texture on a full screen quad with filter set to nearest.
- Although it’s trivial to add MSAA with Metal and it looks nice, this is a costly way to anti-alias as it requires a render target for each sampling pass. I don’t have plans to explore alternatives though because I will likely stick with a pixelated look.
Tooling
- Working Copy is a fantastic tool that integrates very well with Swift Playgrounds projects. It supported my remote repository (git over ssh), and other than its usefulness as an interface to source control, it also allows basic text editing. This was required to modify the project’s Package.swift which is not possible to do through Swift Playgrounds.
- The majority of iOS modelling software at a hobbyist price point are either voxel based (I liked Voxel Max) or sculpting based (I liked Nomad Sculpt). These tools are very capable, but neither are well suited to hard surface modelling required for making the low poly models I want. An iPad port of Blender would be perfect!
- Images editing is very well supported on iOS with many fantastic tools like Pixelmator and the Affinity Designer and Photo apps providing excellent raster and vector graphics.
Things I would most like to see in Swift Playgrounds
- Swift Debugging support
- Metal Debugging support
- Command menu/palette for common operations
- File/symbol switcher
- Vim mode
- Native source control integration
Although there are improvements I’d like to see when developing on an iPad, I’m grateful Apple have built the tools they have!
Conclusion
I started the project with a lot of unknown unknowns: I didn’t know what I had to build in many cases, let alone how to build it. I was also unfamiliar with Swift, Metal, and generally building for iOS, so learned the tools as I went along. Over the last few months I’ve built something that I think looks pretty cool and learned a lot in the process, but above all I’ve had fun doing so.